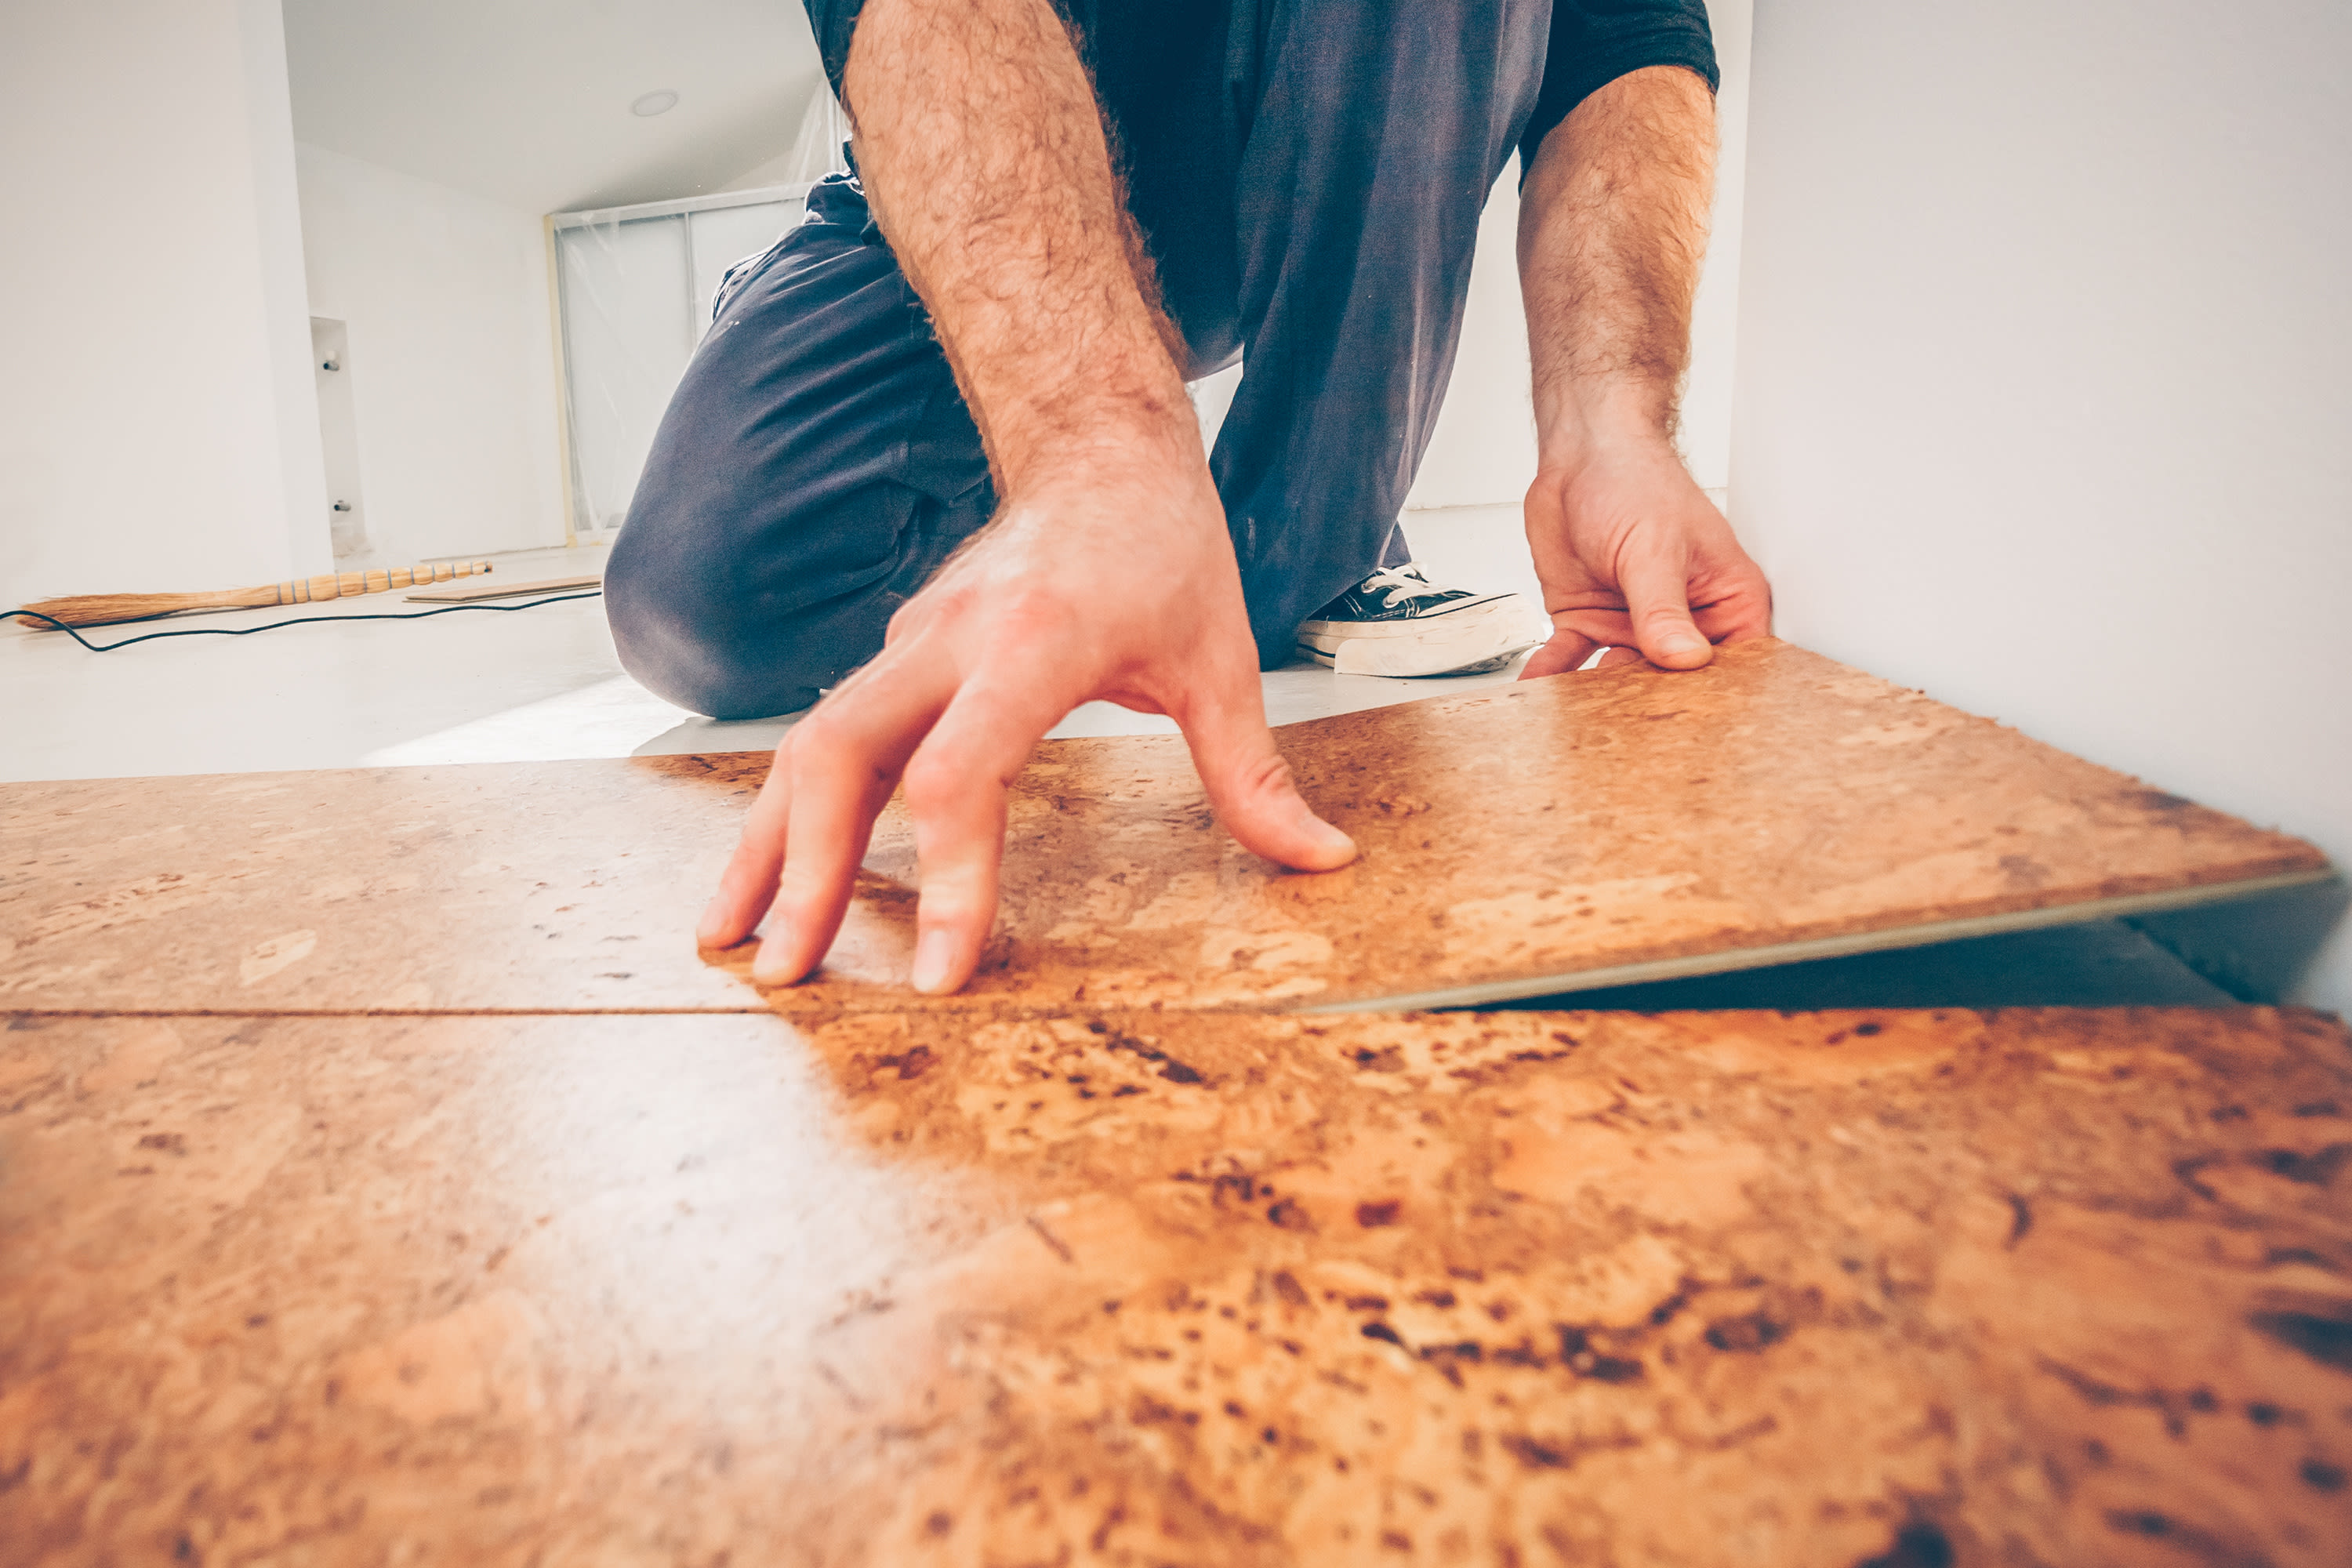
Laminate flooring is a popular choice for homeowners due to its affordability, durability, and easy installation. However, there may come a time when you decide to upgrade or replace your flooring.
Whether you're preparing for a new design or addressing damage, removing laminate flooring is a task you can tackle with the right tools and know-how. In this guide, we'll take you through the step-by-step process on how to remove laminate flooring like a professional!
Tools and materials you’ll need to remove your laminate floors
Safety Gear:
- Work gloves
- Safety glasses
-
Basic Tools:
- Crowbar or pry bar
- Hammer
- Utility knife
-
Specialized Tools:
- Pull bar
- Flooring adhesive remover
- Power saw (optional, for larger areas)
-
Container for Debris:
- Large garbage bags or a trash bin
Step 1: clear the area
Before you start the removal process, remove all furniture and other obstacles from the room. This will give you a clear workspace and make it easier to navigate during the removal.
Step 2: start at the edges
Begin by removing the baseboards or molding around the edges of the room. This will expose the edges of the laminate flooring and make it easier to access. Use a pry bar or crowbar to gently lift and remove the baseboards, taking care not to damage them if you plan to reuse them.
Step 3: find the start
Locate a corner of the room where you can start the removal process. Laminate flooring is typically installed as floating floors, meaning the pieces are not glued or nailed down. Look for the edge where the flooring begins and use the pry bar to lift a corner gently.
Step 4: use the pull bar
Once you've lifted a corner of the laminate flooring, use a pull bar to disconnect the tongue-and-groove locking system. Place the pull bar against the edge of the laminate plank and tap it gently with a hammer. This will help separate the planks without causing damage.
Step 5: work row by row
Continue the process row by row, lifting each plank with the pry bar and using the pull bar to disconnect it from the adjacent plank. Take your time to avoid damaging the planks, especially if you plan to reuse them or donate them.
Step 6: remove adhesive (if necessary)
Some laminate flooring may have adhesive underneath. If this is the case, you'll need a flooring adhesive remover. Apply the remover as directed by the manufacturer and let it sit for the recommended time. Use a scraper or putty knife to gently lift the adhesive, taking care not to damage the subfloor.
Step 7: dispose of debris
As you remove the laminate planks, place them in large garbage bags or a trash bin. This will keep your workspace clean and make the disposal process more manageable.
Step 8: clean the subfloor
Once all the laminate flooring is removed, inspect the subfloor for any remaining adhesive or debris. Clean the subfloor thoroughly to ensure a smooth surface for the new flooring installation.
Final step: relax!
Congratulations, you've successfully removed your laminate flooring! Whether you're planning to install new laminate or switch to a different type of flooring, this process sets the stage for a fresh look in your space.
For professional assistance with your flooring needs, or new laminate floors in Tucson, AZ, consider visiting or reaching out to Flooring Direct. We provide top-notch flooring services in Tucson, Marana, Oro Valley, Casas Adobes, and Catalina Foothills. Our experienced team can help you choose the right flooring options and ensure a flawless installation. Upgrade your space with Flooring Direct – where quality meets expertise!


